How to Set Up "Bring Your Own Server" (BYOS) on PipeOps
The Bring Your Own Server (BYOS) feature allows you to turn almost any machine into a deployable environment managed by PipeOps. Whether it’s an old laptop, an on-premise server, or a virtual machine (VM) from a cloud provider, you can connect it to PipeOps and manage it with the same simplicity as a standard cloud integration.
Prerequisites
Before proceeding, ensure you have the following:
- A PipeOps Account: Sign up here.
- A Target Machine: This can be a physical PC/Laptop, a Home Server, or a VM (e.g., DigitalOcean, AWS, or Azure).
- Internet Connectivity: The machine must be connected to the internet to communicate with the PipeOps control plane.
- For Windows Users: You must have WSL (Windows Subsystem for Linux) installed. Follow the WSL setup guide here.
Step 1: Navigate to Server Provisioning
-
Log in to your PipeOps dashboard.
-
From the sidebar, click on Servers and then click the Create new server button.
-
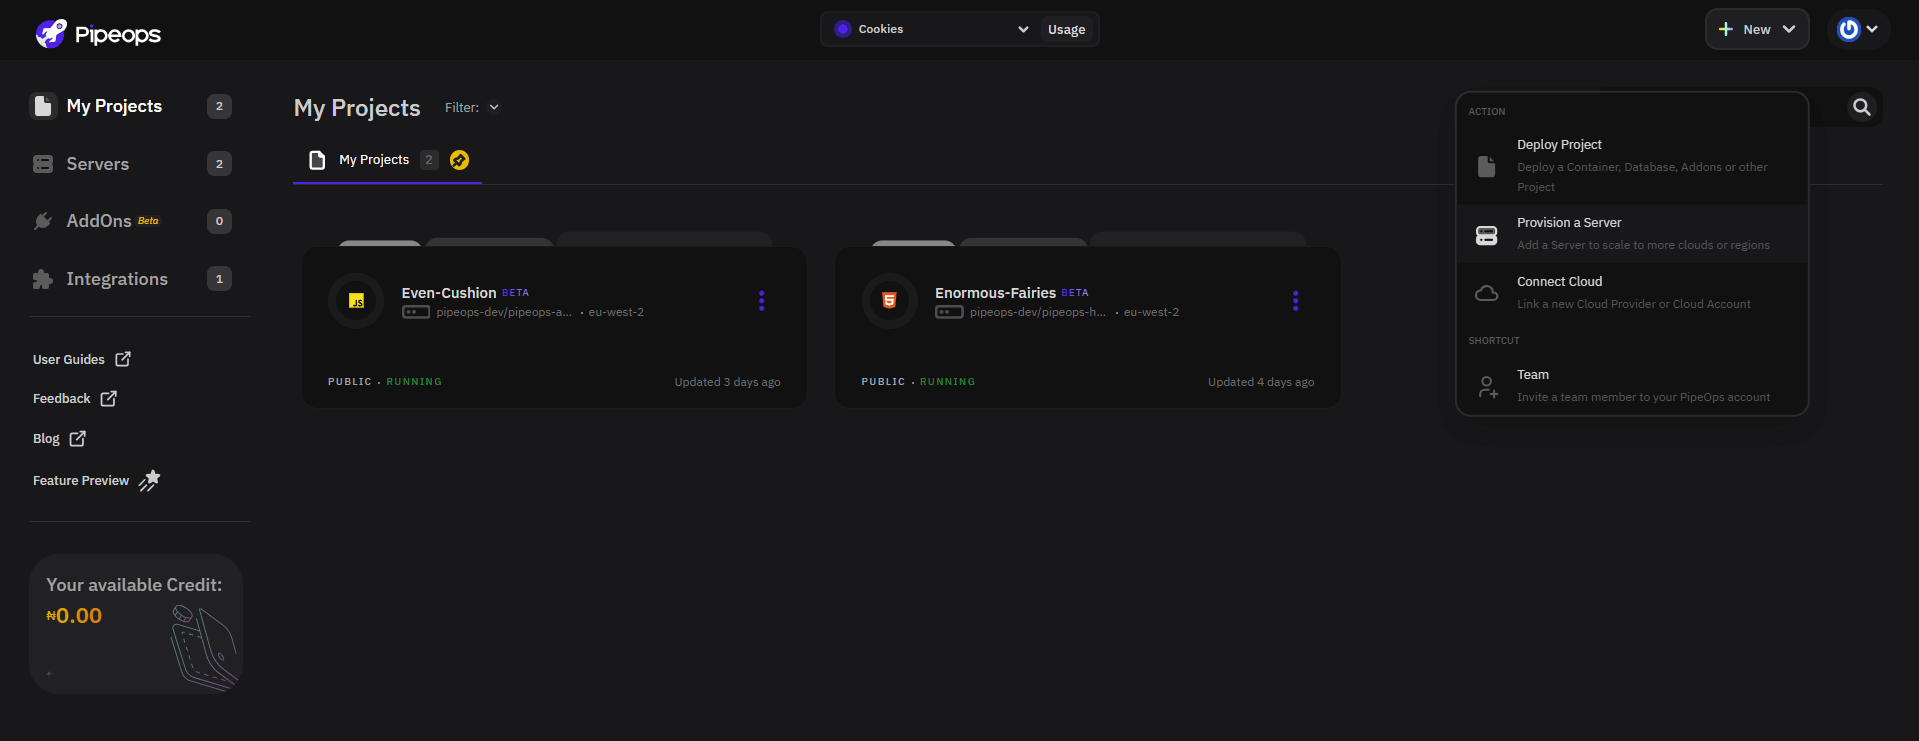
Alternatively, if you are on the "My Projects" page, click the New button and select Provision a Server .
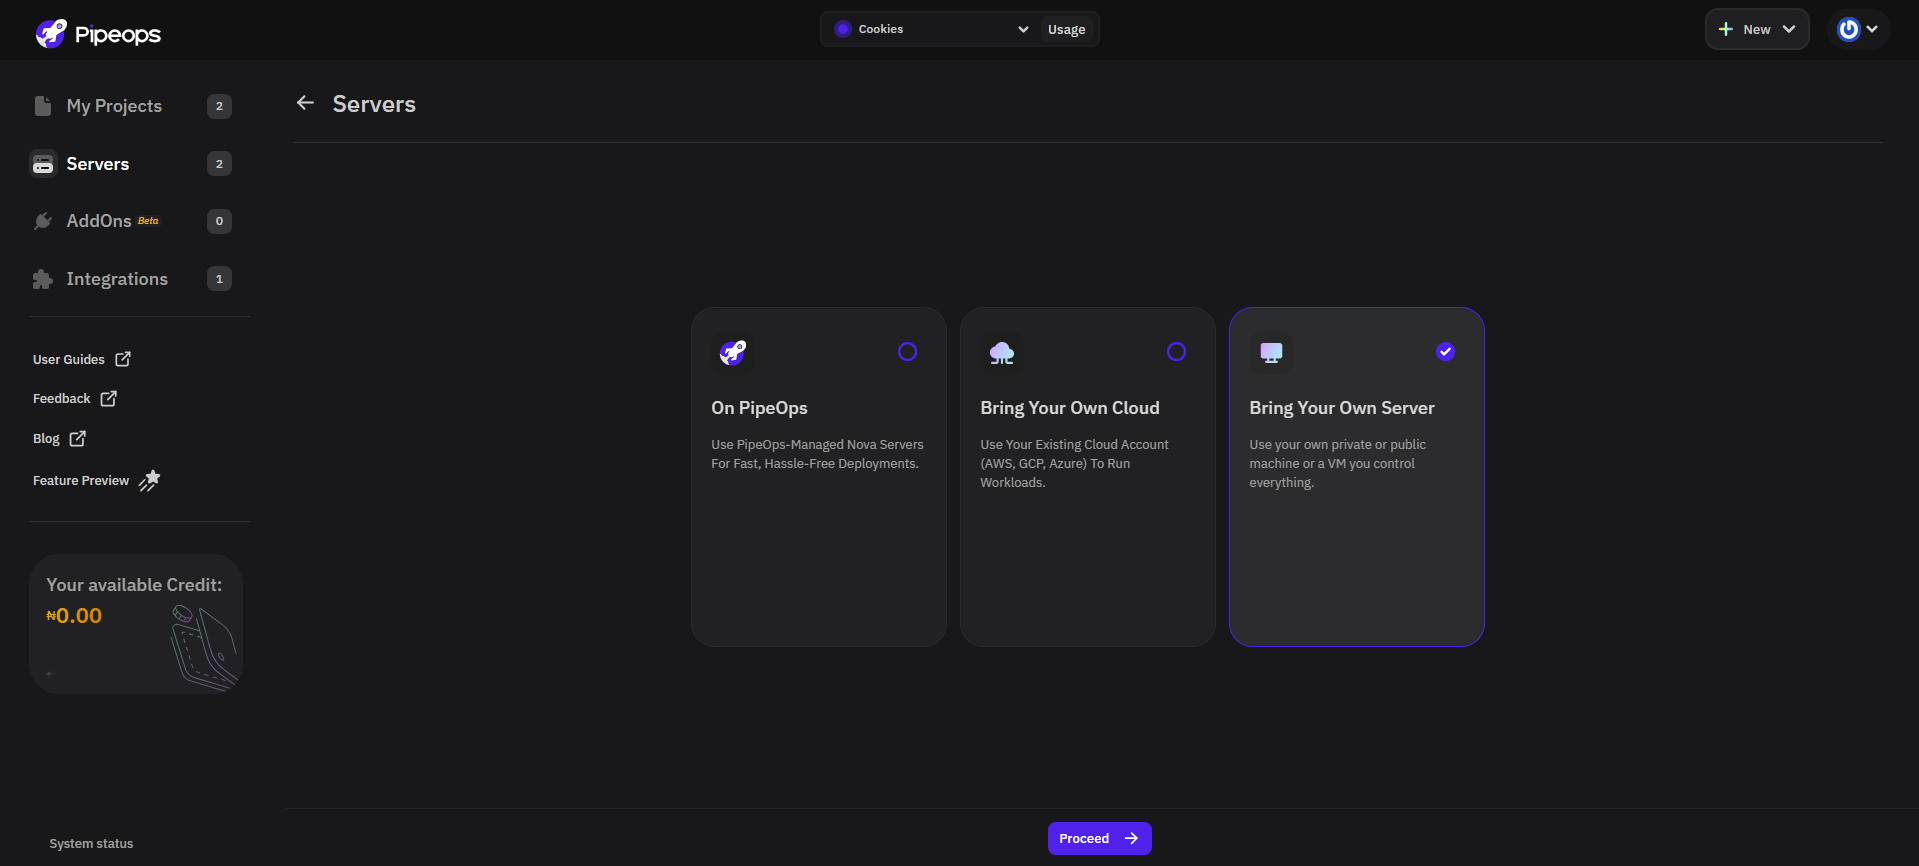
Step 2: Select Server Type
- Locate the card labeled Bring Your Own Server (BYOS).
- Select this option and click Proceed.
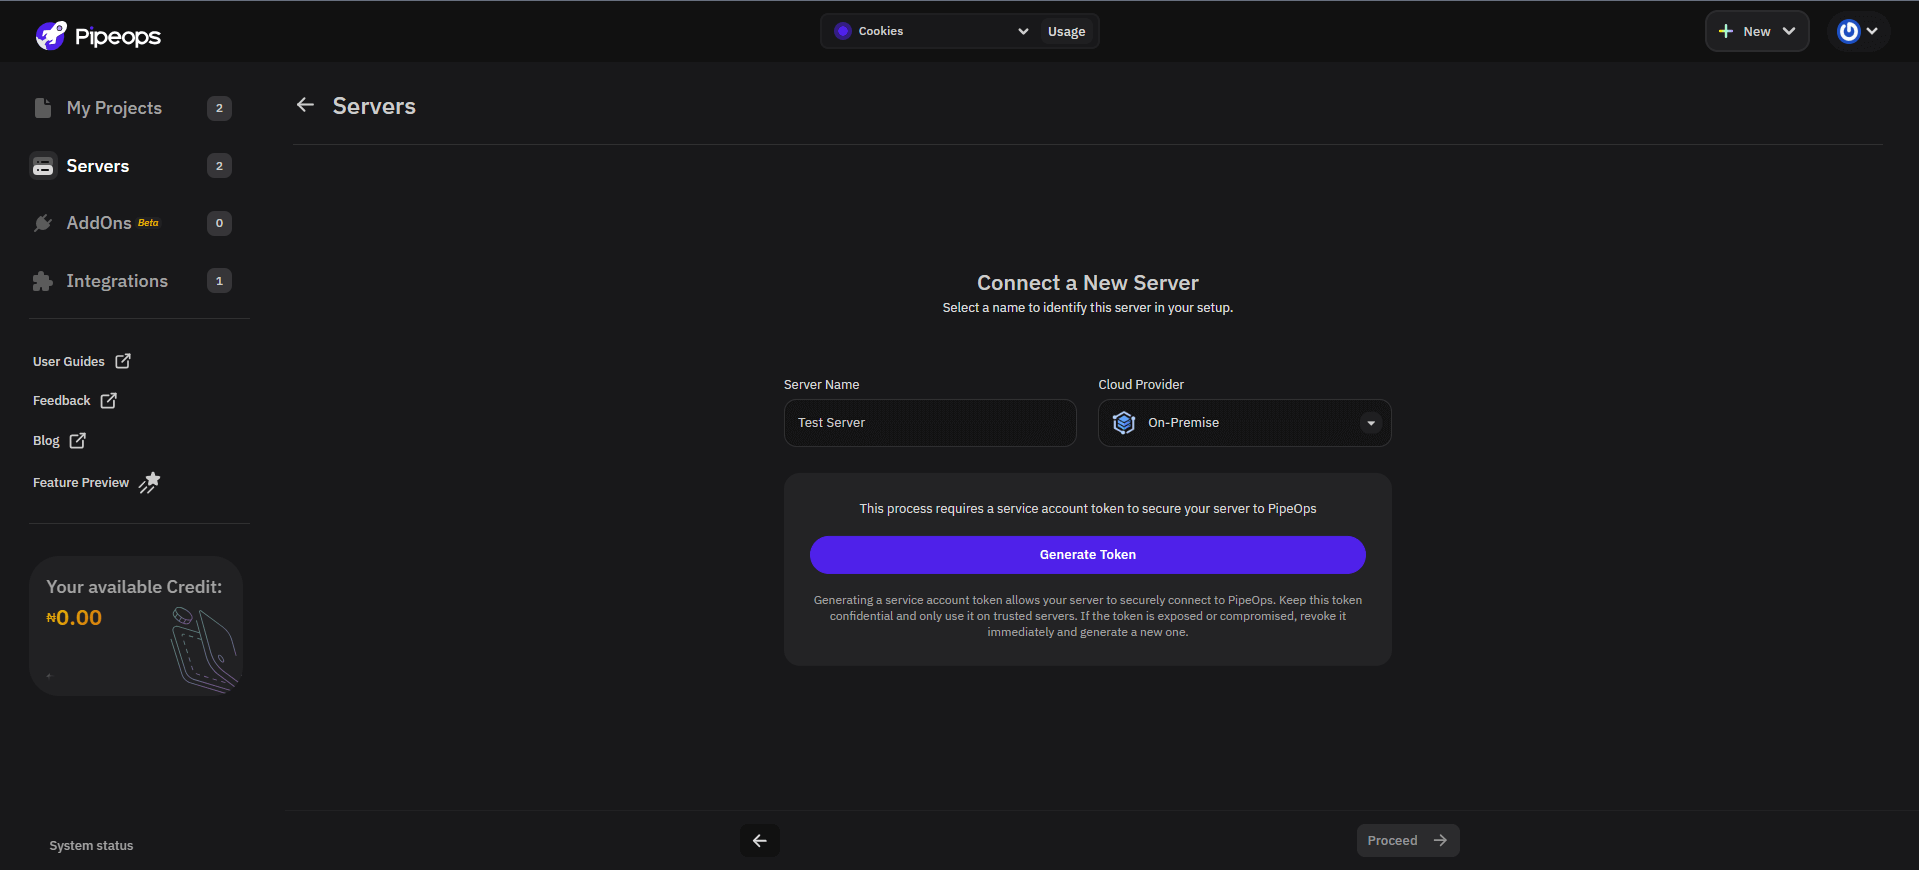
Step 3: Configure Server Details
-
Server Name: Enter a distinct name for your server (e.g.,
Home-Lab-ServerorAzure-VM-West). -
Cloud Provider: Select On-Premise from the dropdown menu. (Note: Use this option for local hardware and VMs alike).
-
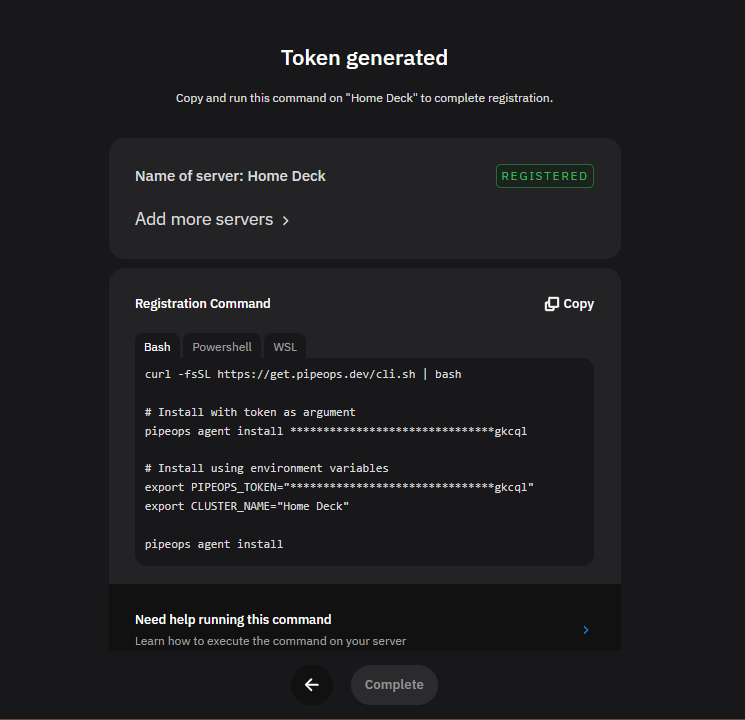
Click Generate Token.

Step 4: Installation and Connection
The registration command varies slightly depending on your operating system.
Option A: Setup for Linux (Native or Remote VM)
If you are using a native Linux distribution or an SSH connection to a cloud VM, open your terminal and run the following commands in order, and also remember to replace the variables “YOUR_GENERATED_TOKEN” and “YOUR_SERVER_NAME” with your own token and server name. This only applies if you are manually entering these details. Otherwise, please copy the command directly from your PipeOps dashboard
- Install the CLI:
curl -fsSL https://get.pipeops.dev/cli.sh | bash
- Run the Agent Install: Replace the placeholders with your generated token and server name.
 pipeops agent install "YOUR_GENERATED_TOKEN"
 export PIPEOPS_TOKEN="YOUR_GENERATED_TOKEN"
 export CLUSTER_NAME="YOUR_SERVER_NAME"
 pipeops agent install
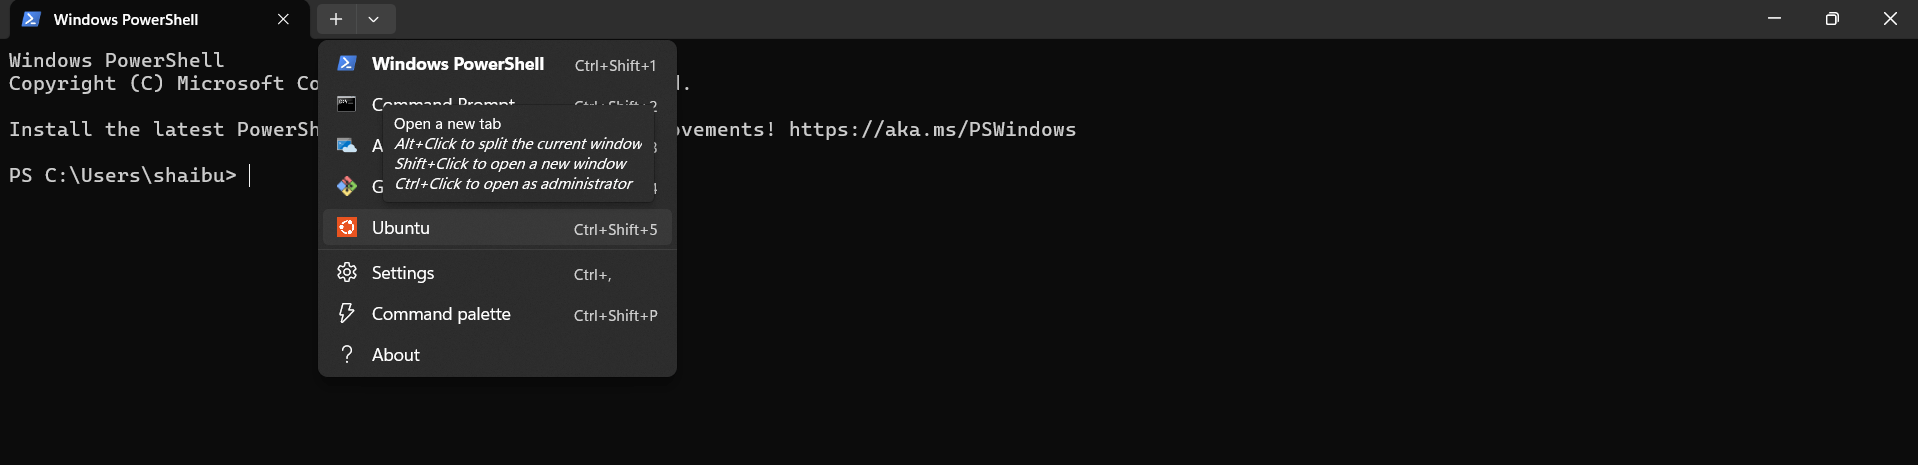
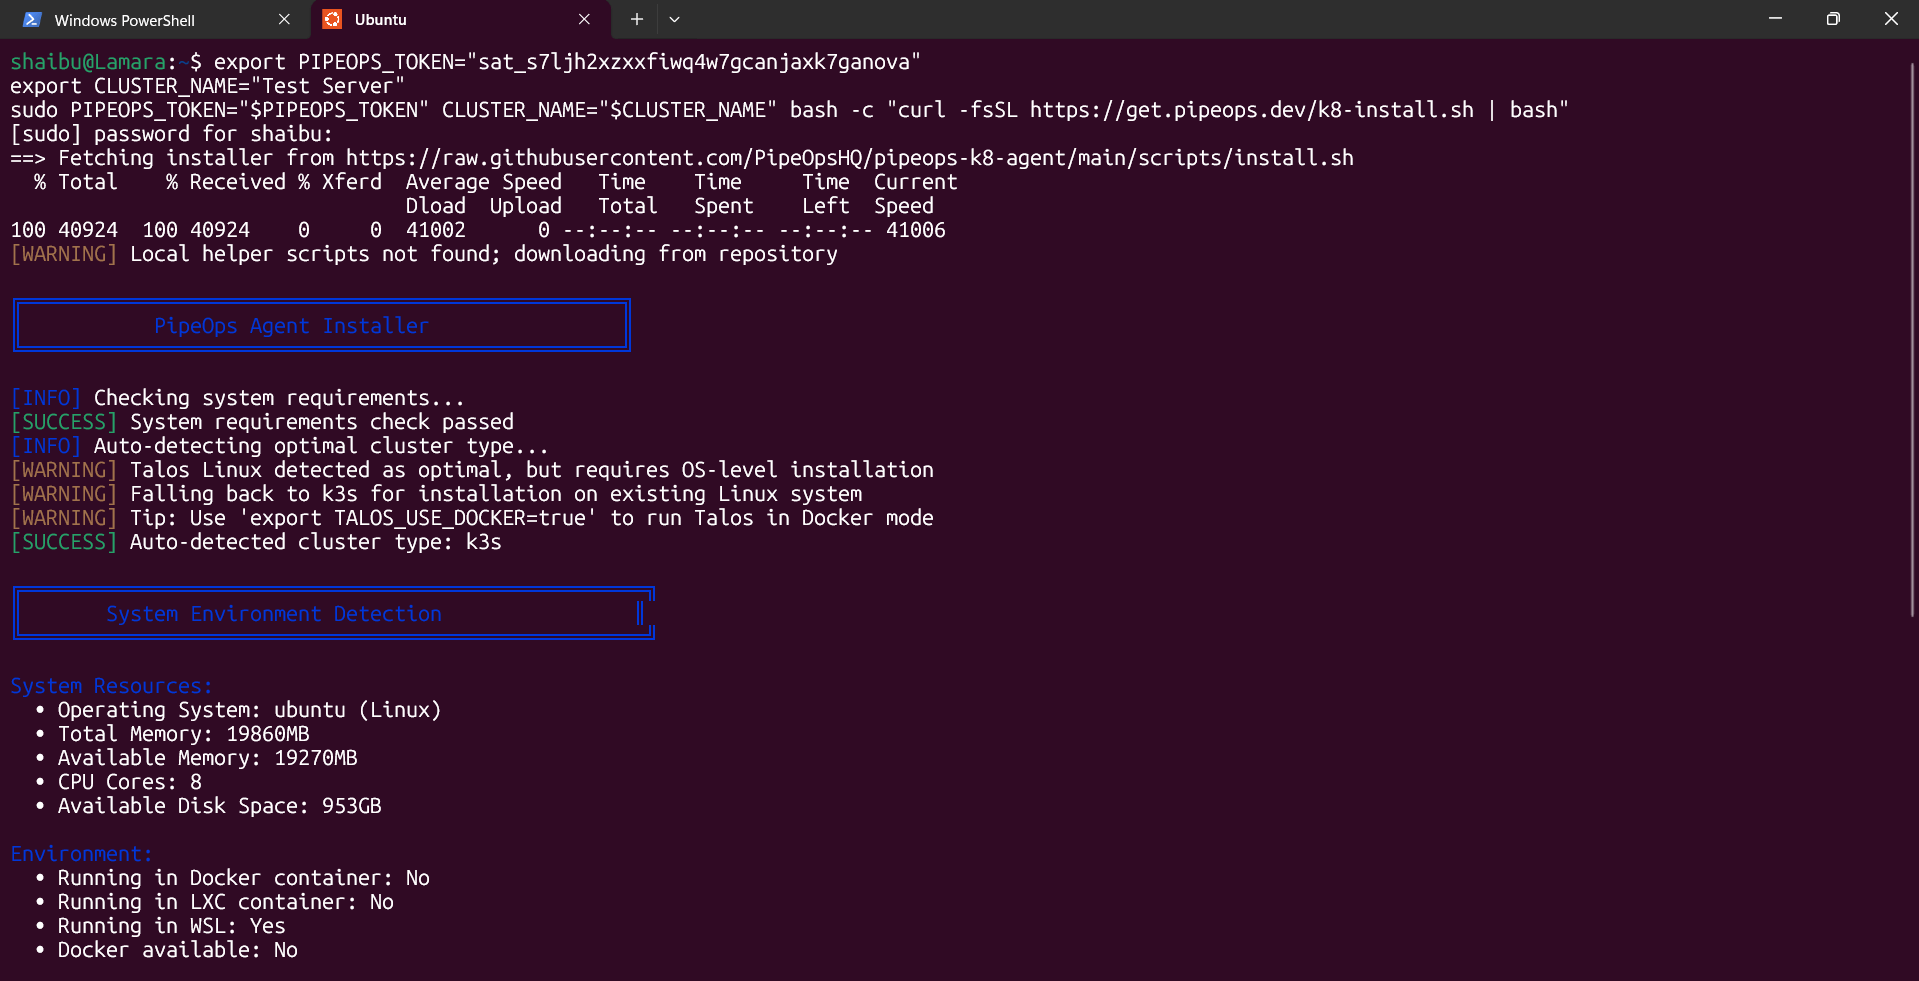
Option B: Setup for Windows (via WSL)
Open your Ubuntu/WSL terminal (not PowerShell) and run:
- Export Variables:
 export PIPEOPS_TOKEN="YOUR_GENERATED_TOKEN"
 export CLUSTER_NAME="YOUR_SERVER_NAME"
- Run the Installation Script:
sudo PIPEOPS_TOKEN="$PIPEOPS_TOKEN" CLUSTER_NAME="$CLUSTER_NAME" bash -c "curl -fsSL https://get.pipeops.dev/k8-install.sh | bash"
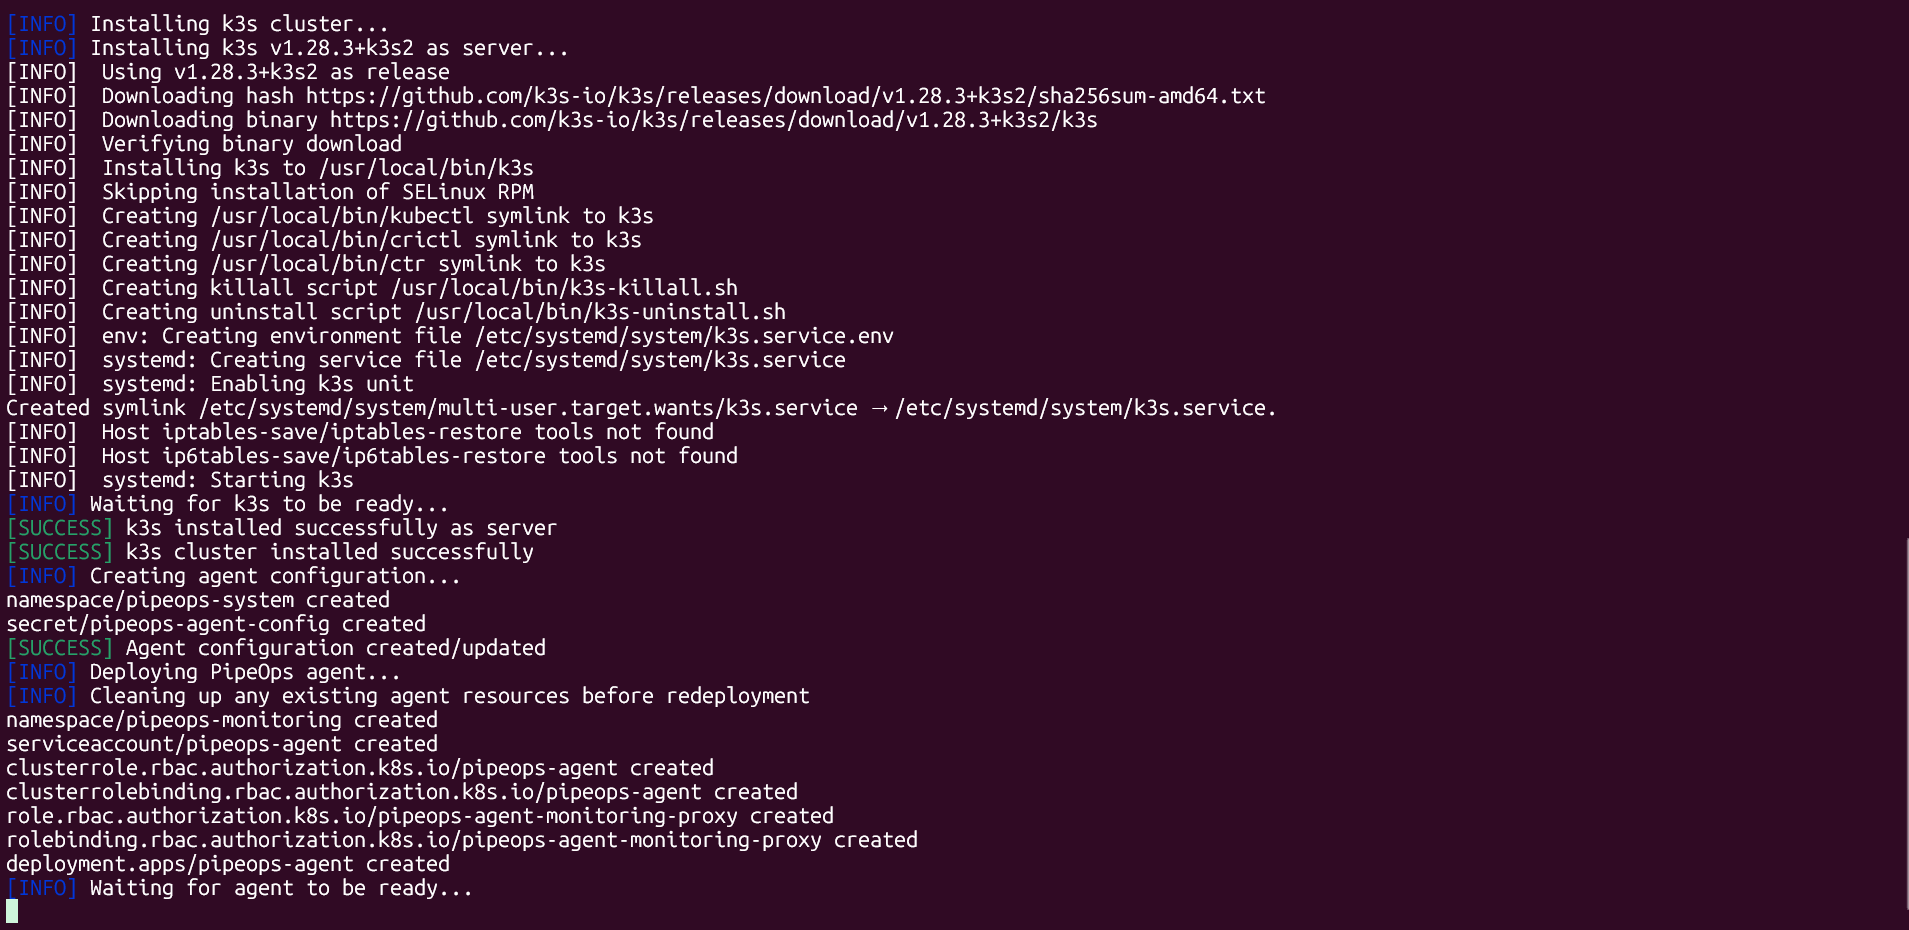
Step 5: Verification and Monitoring
After running the commands, your terminal will show the installation progress. PipeOps will automatically provision the necessary environment (using K3S) on your machine.
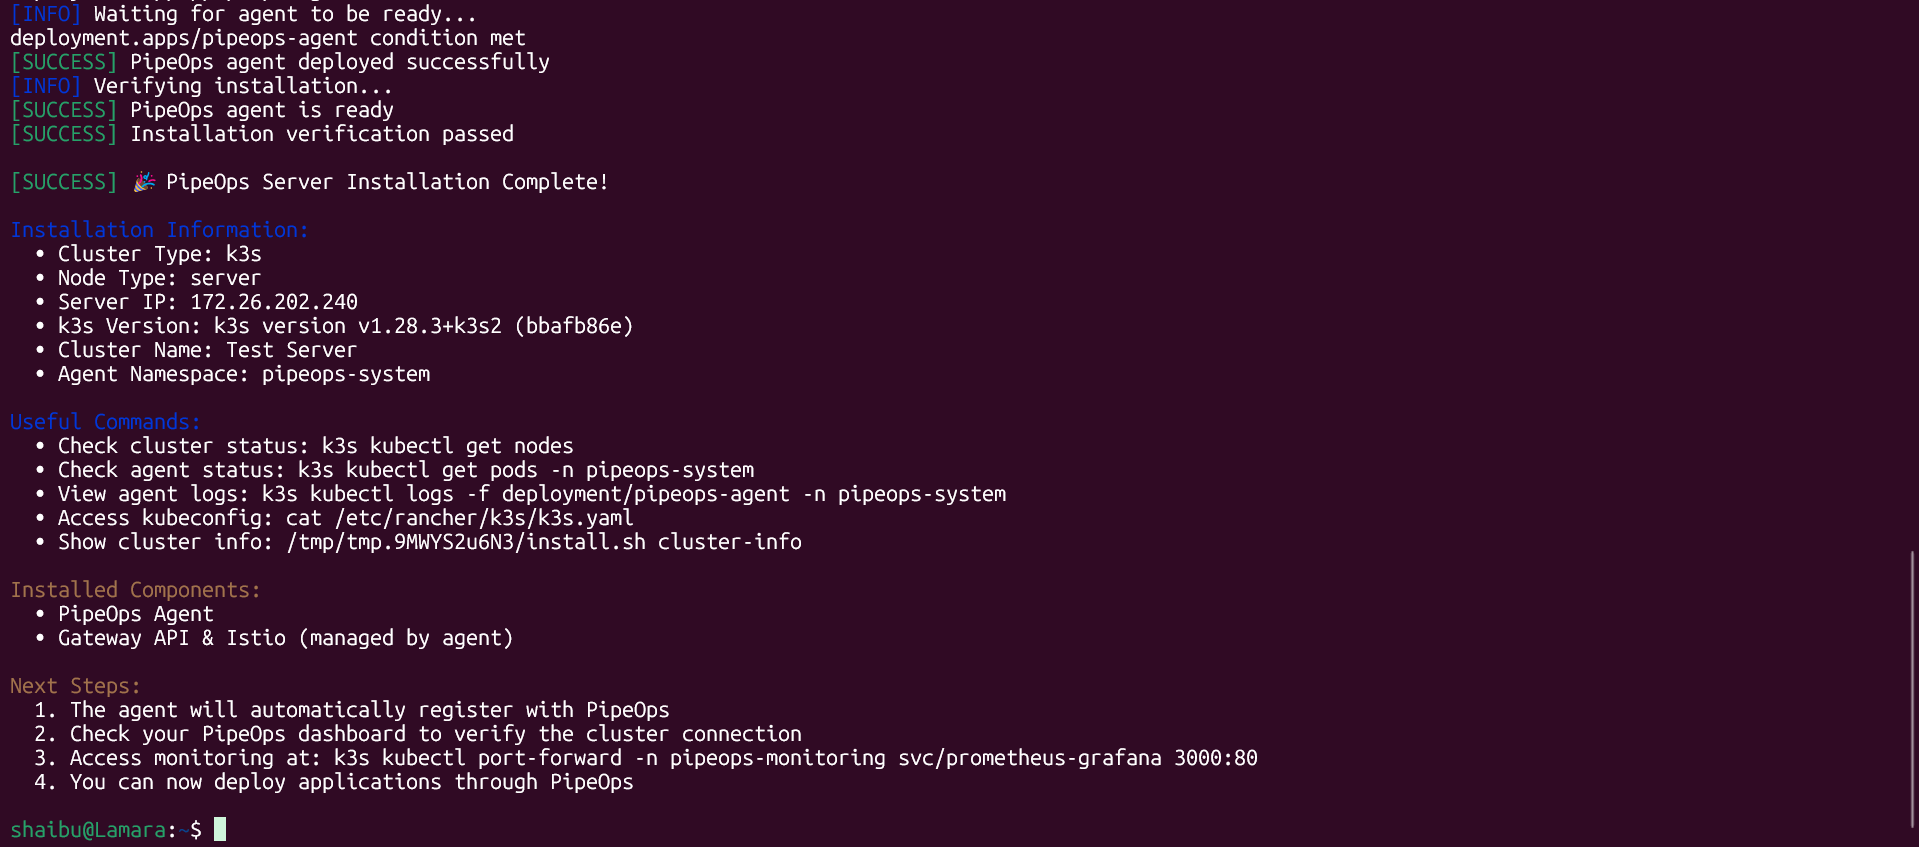
Once the terminal displays a success message, return to the PipeOps dashboard. You will see a Registered status badge or a success modal. Click Complete to view your server details.
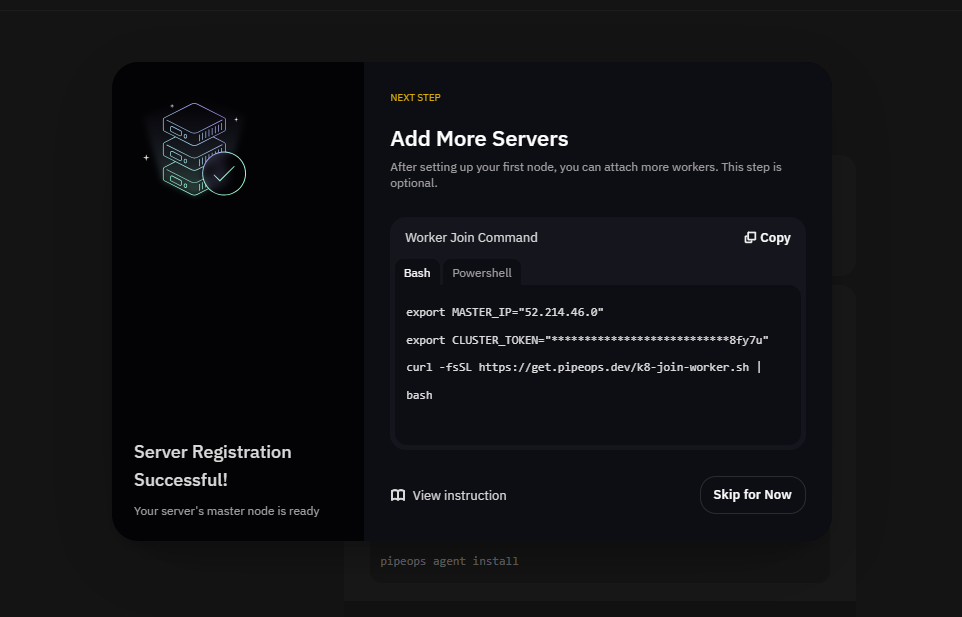
Your server has been successfully registered, and you can now perform all standard PipeOps operations just like any other server. Explore these features to take your new server for a spin:
Deploy your first project
- Go to My Projects and click New and from the dropdown select Deploy Project.
- Choose your project template or repository (e.g., an HTML/React project).
- In the deployment settings, select your newly registered BYOS Server as the target.
- Click Deploy.
Click here to view the full Project Deployment Guide.
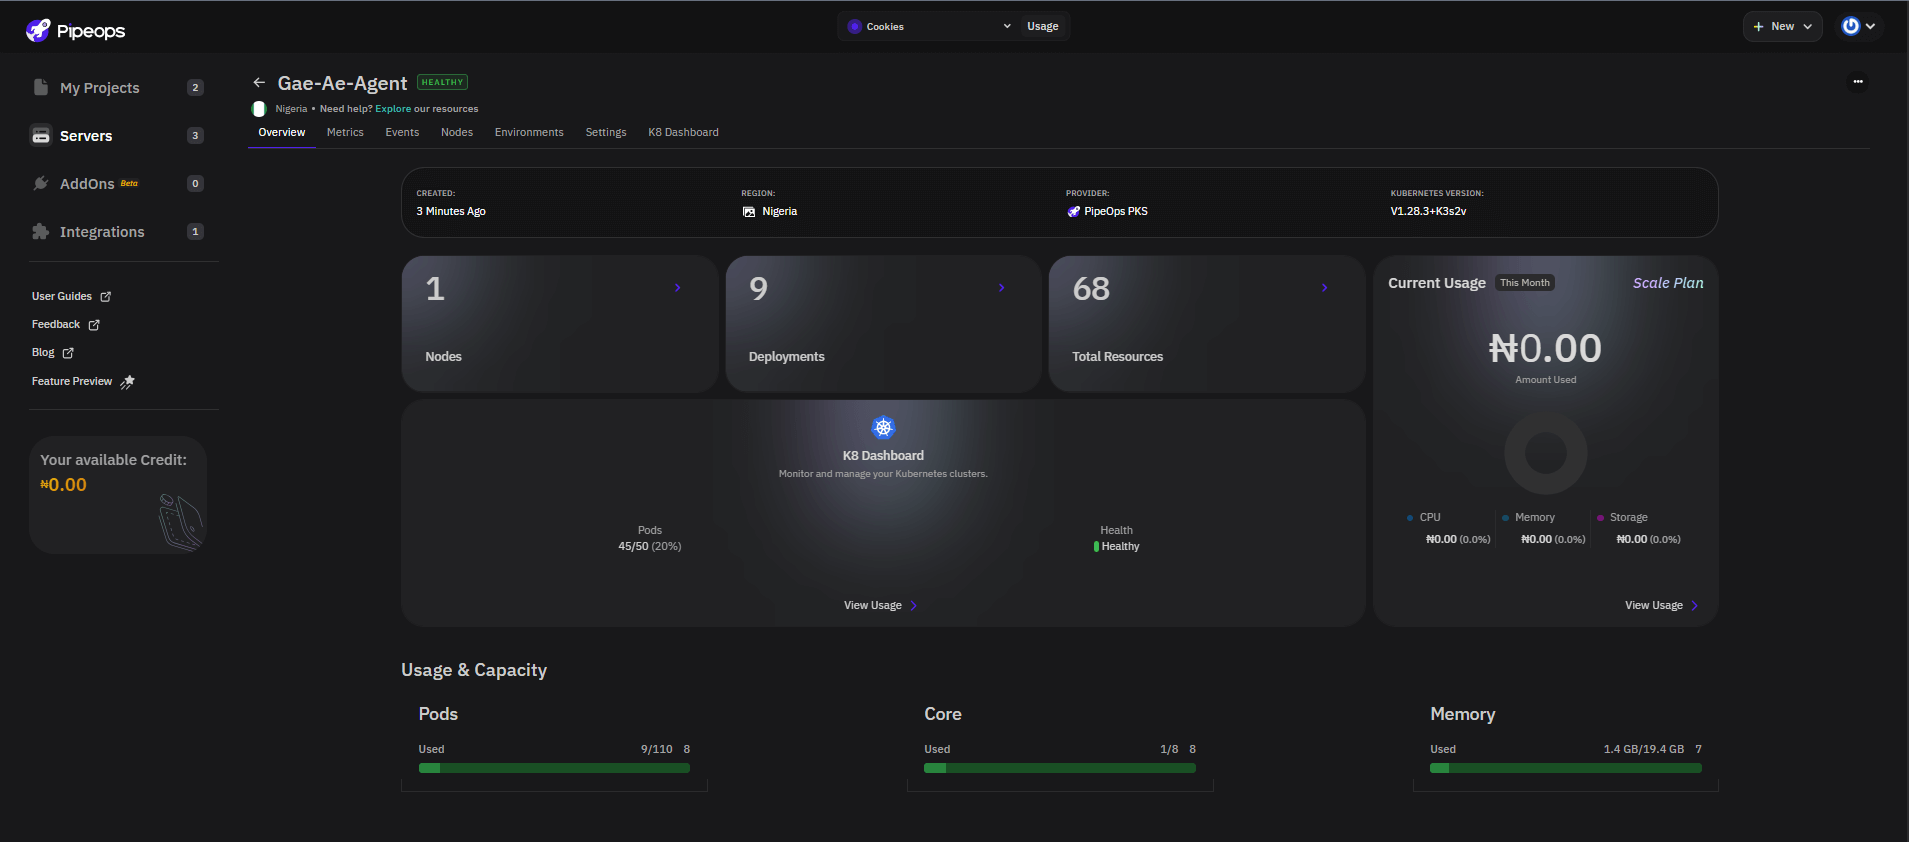
Explore observability features
Once connected, you can click on the server name to access the Server Details page. Here, you can monitor:
-
Real-time Metrics: CPU, Memory, and Disk usage.
-
System Events: Tracking the health and activity of your server in real-time.

Troubleshooting & Support
- Permission denied: Ensure you use
sudofor the installation commands on Linux/WSL. - Connection Timeouts: Verify that your machine's firewall allows outbound connections to
pipeops.dev. - Learn more at the agent documentation